Slide-In popups can be used for any purpose. In this example, we’ll use one as an age-gate, to force users to verify that they are over the age of 18 before viewing the site. We’ll redirect them to a search engine if they say they are under 18, and close the popup if they say they are over 18. No other method will allow the user to close the popup to enter the site.
Create Popup
- Go to Dashboard > Templates > Popups > Add New
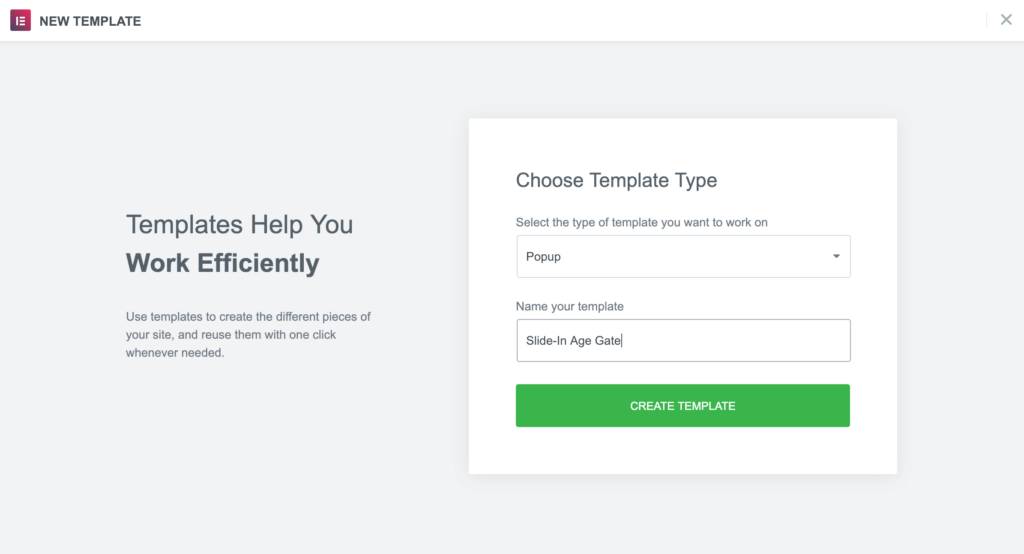
- Name your template and click ‘Create Template’
- Choose a template from the Library or create your own design
Popup Settings
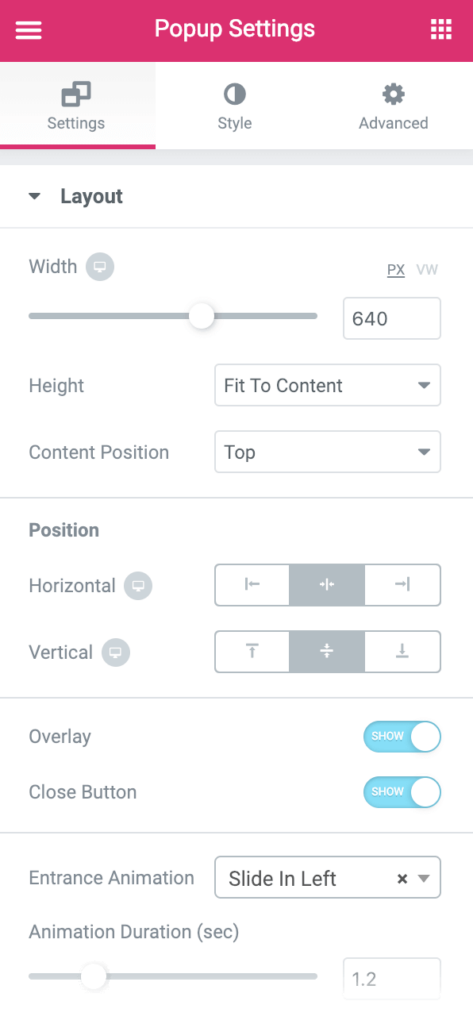
Settings
- Set the Horizontal position to Center and the Vertical position to Center
- Show Overlay
- Hide Close Button
- Set Entrance Animation to Slide In Left
Style
Set Overlay to either a solid color or gradient, with no transparency.
Adjust Content
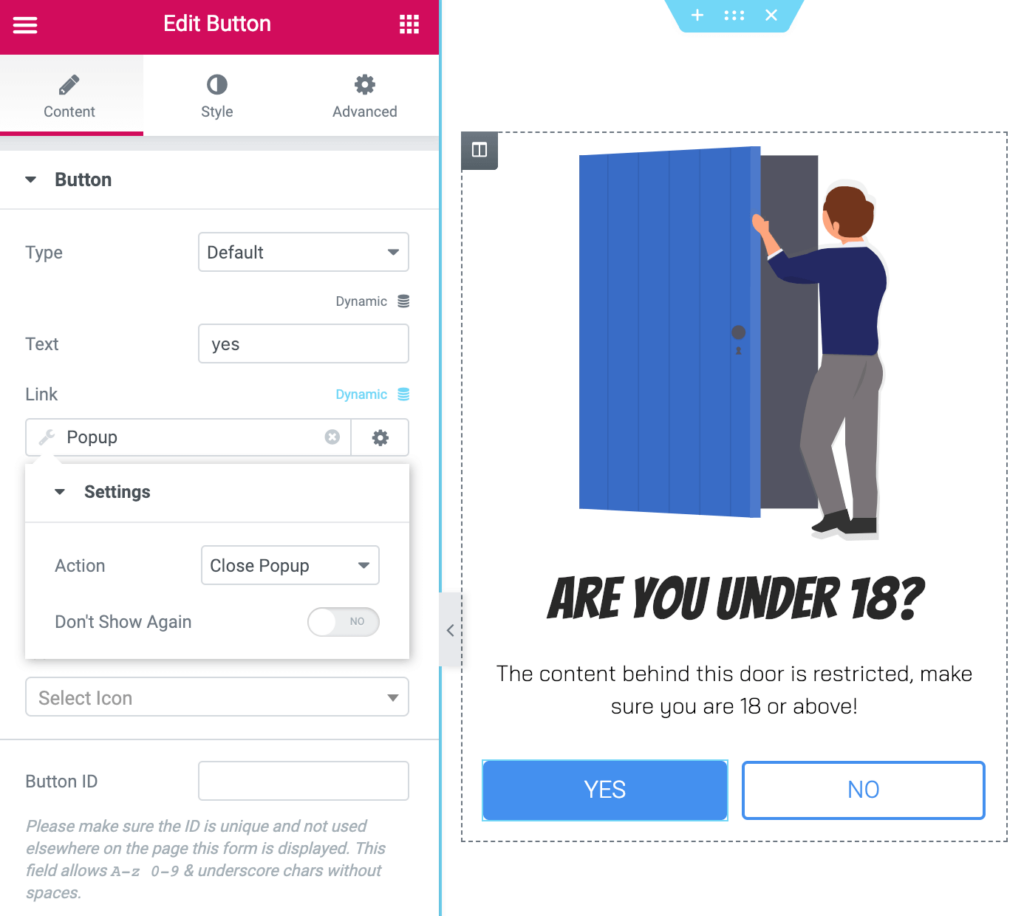
Change content as needed. We used YES and NO buttons to either close the popup or redirect the user to another site.
For the YES button, we used the link field to set a Dynamic Popup Action to Close Popup.
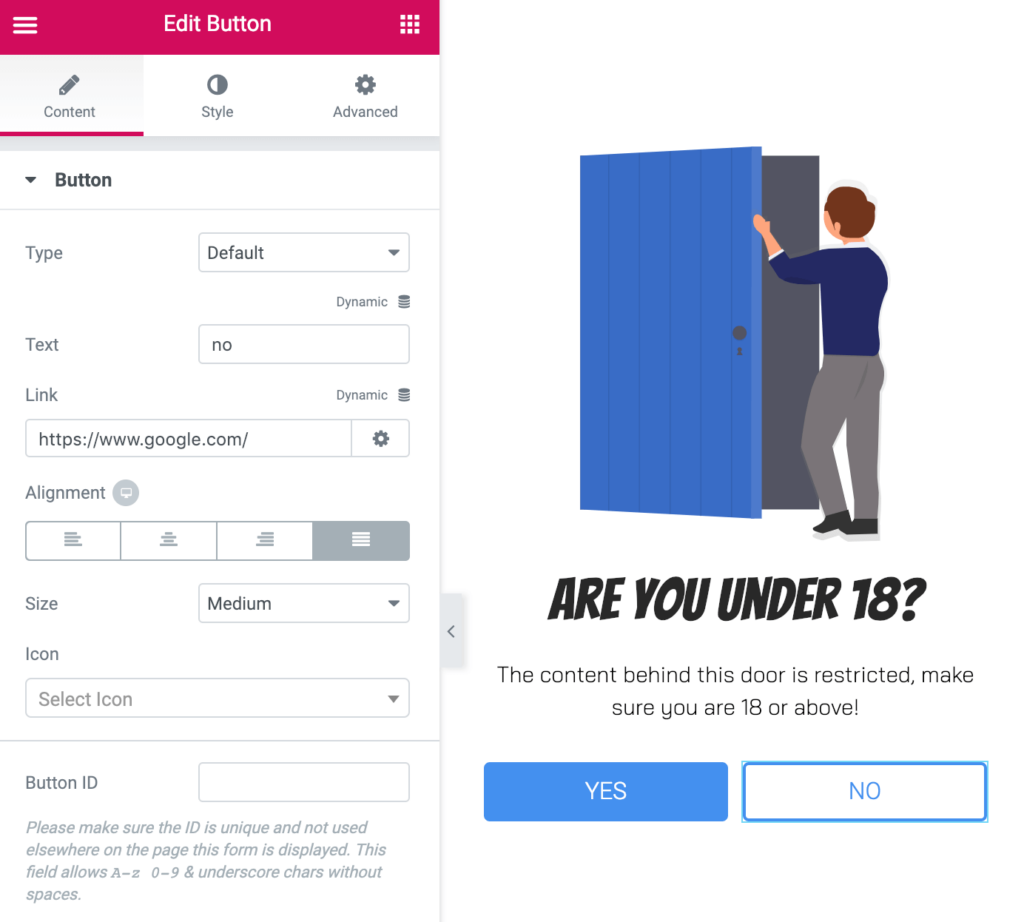
For the NO button, we set a link to Google, so the user would be sent away from our site.
Publish Settings
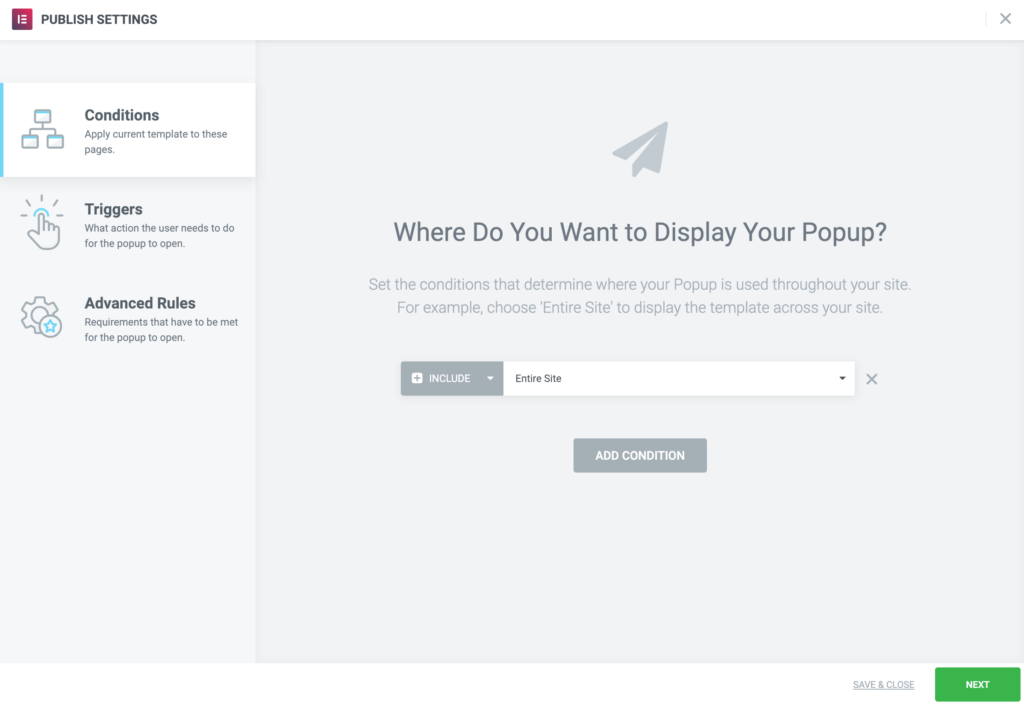
Conditions: Include: Entire Site
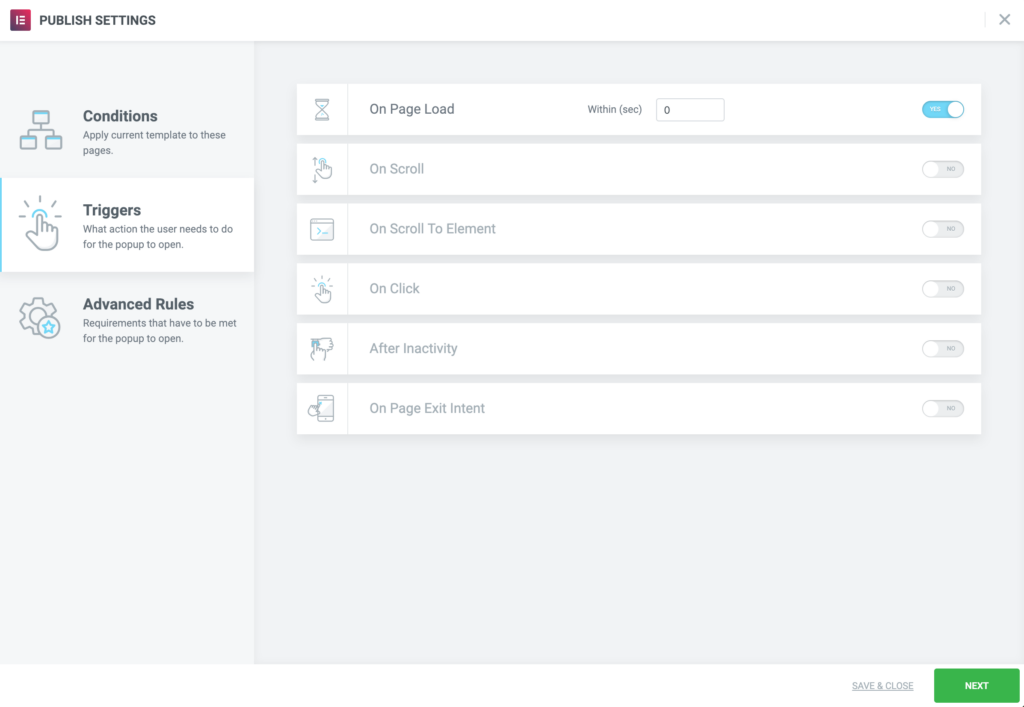
Triggers: On Page Load
Keep visitors engaged with an exit-intent popup. Elementor Premium Services offers expert help designing and implementing the perfect popup.